
If you are looking for a guide to installing and running BlueStacks Android Emulator on a PC, you have come to the right place. BlueStack is one of the most popular Android Emulators that gives you the ability to run Android apps and games on your PC.
In this article, we will go through making the BlueStacks Android emulator run on your PC. Before we do so, let’s quickly take a look at the prerequisite of running BlueStacks.
System Requirement for Installing BlueStacks
Before you try to install BlueStacks, you need to make sure that your PC meets the minimum requirement. So, what do you need? Let’s list them below.
- Operating System: Windows 7 or above
- RAM: At least 2 GB of RAM
- Processor: AMD or Intel Processor
- HDD: 5 GB Free Hard Disk Space
Aside from that, you also need to make sure that you are your PC’s administrator and have updated drivers for your graphics card.
For optimal performance, it is advisable to have a multi-core processor, a graphics card, 8 GB RAM, and Windows 10.
If you want to stay up to date with the requirement, then you can check their official system requirement page.
Downloading BlueStacks Android Emulator on Windows
If you have started reading this section, then congratulations, your PC should meet the basic requirement. However, if it doesn’t, you can always give it a try.
To get started, you first need to download BlueStacks.
First, go to https://www.bluestacks.com. Once there, you now need to click on “Download BlueStacks,” as shown in the image below.

Once it is downloaded, it is now time to install it, which we will cover in the next step.
Installing BlueStacks
If you are using Windows 10, you will be prompted with the User Account Control. Here, you need to make sure that you allow it so that the installer can run.
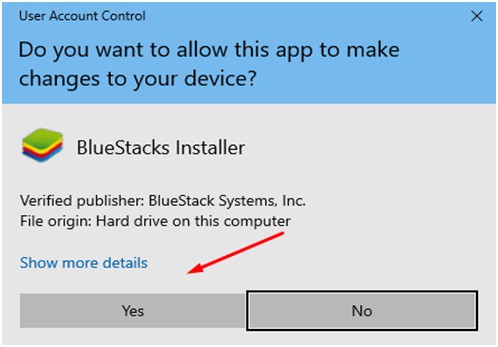
Once you click Yes, you will be redirected to the BlueStacks 4 installer, as shown below.
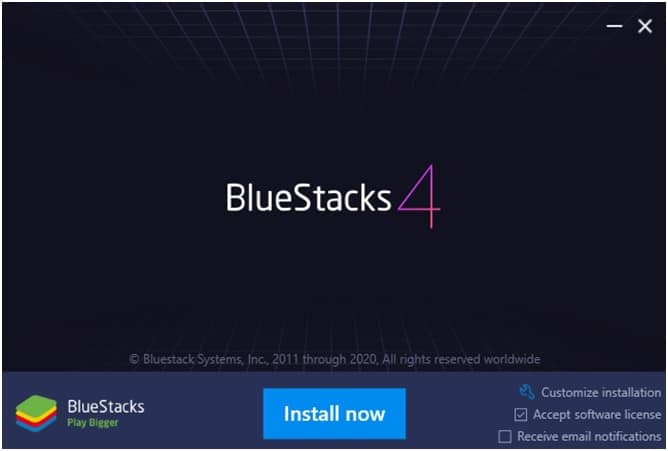
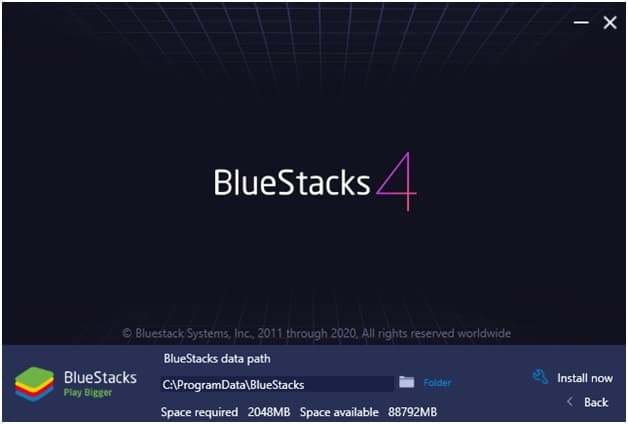
On the right-hand side, you will see the “Customized Installation” option. It lets you change the install location. By default, it chooses “C:\ProgramData\BlueStacks.”
Now, you need to click on “Install Now” for the installation process to get started.
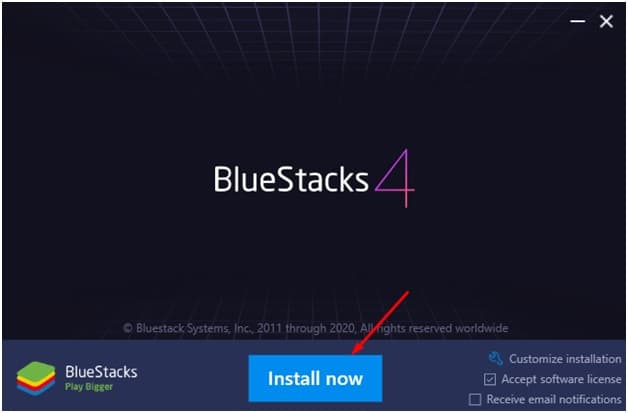
If your PC passes the minimum requirement, it will start downloading the installer from its server and install it on your Windows machine.
Also, it may take some time depending on your internet and PC speed.
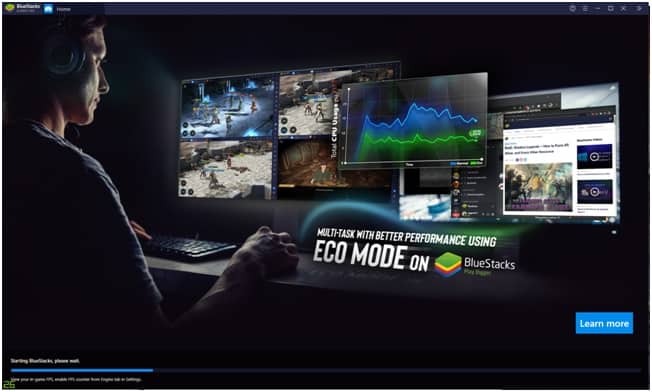
Running BlueStacks
Once the installation is completed, you will be redirected to the following screen, where it starts your BlueStacks.
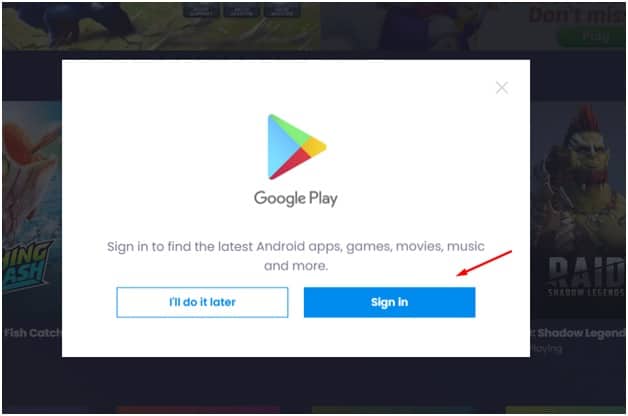
Next, you need to connect your Google Play account to start using it.
Click on Sign in to start the process of signing in. You can also do it later, but we recommend you to do it right away!
Congratulations, you are now ready to use BlueStacks on your PC.
Also, Check :
Final Thought:
BlueStacks is one of the most popular Android emulators, and you should not miss what it has to offer. We hope that you can install BlueStacks on your machine by following the tutorial. If you are stuck, then use the comment section to ask questions, and we will help you with it!
![[pii_email_c0872b2275c5451a2577]](https://www.allnetarticles.net/wp-content/uploads/2021/09/How-To-Fix-Error-pii_email_c0872b2275c5451a2577-in-Email.png)
![[pii_email_c75373ce5b34bf577425]](https://www.allnetarticles.net/wp-content/uploads/2021/08/Fix-pii_email_c75373ce5b34bf577425-in-3-Working-Ways.jpg)